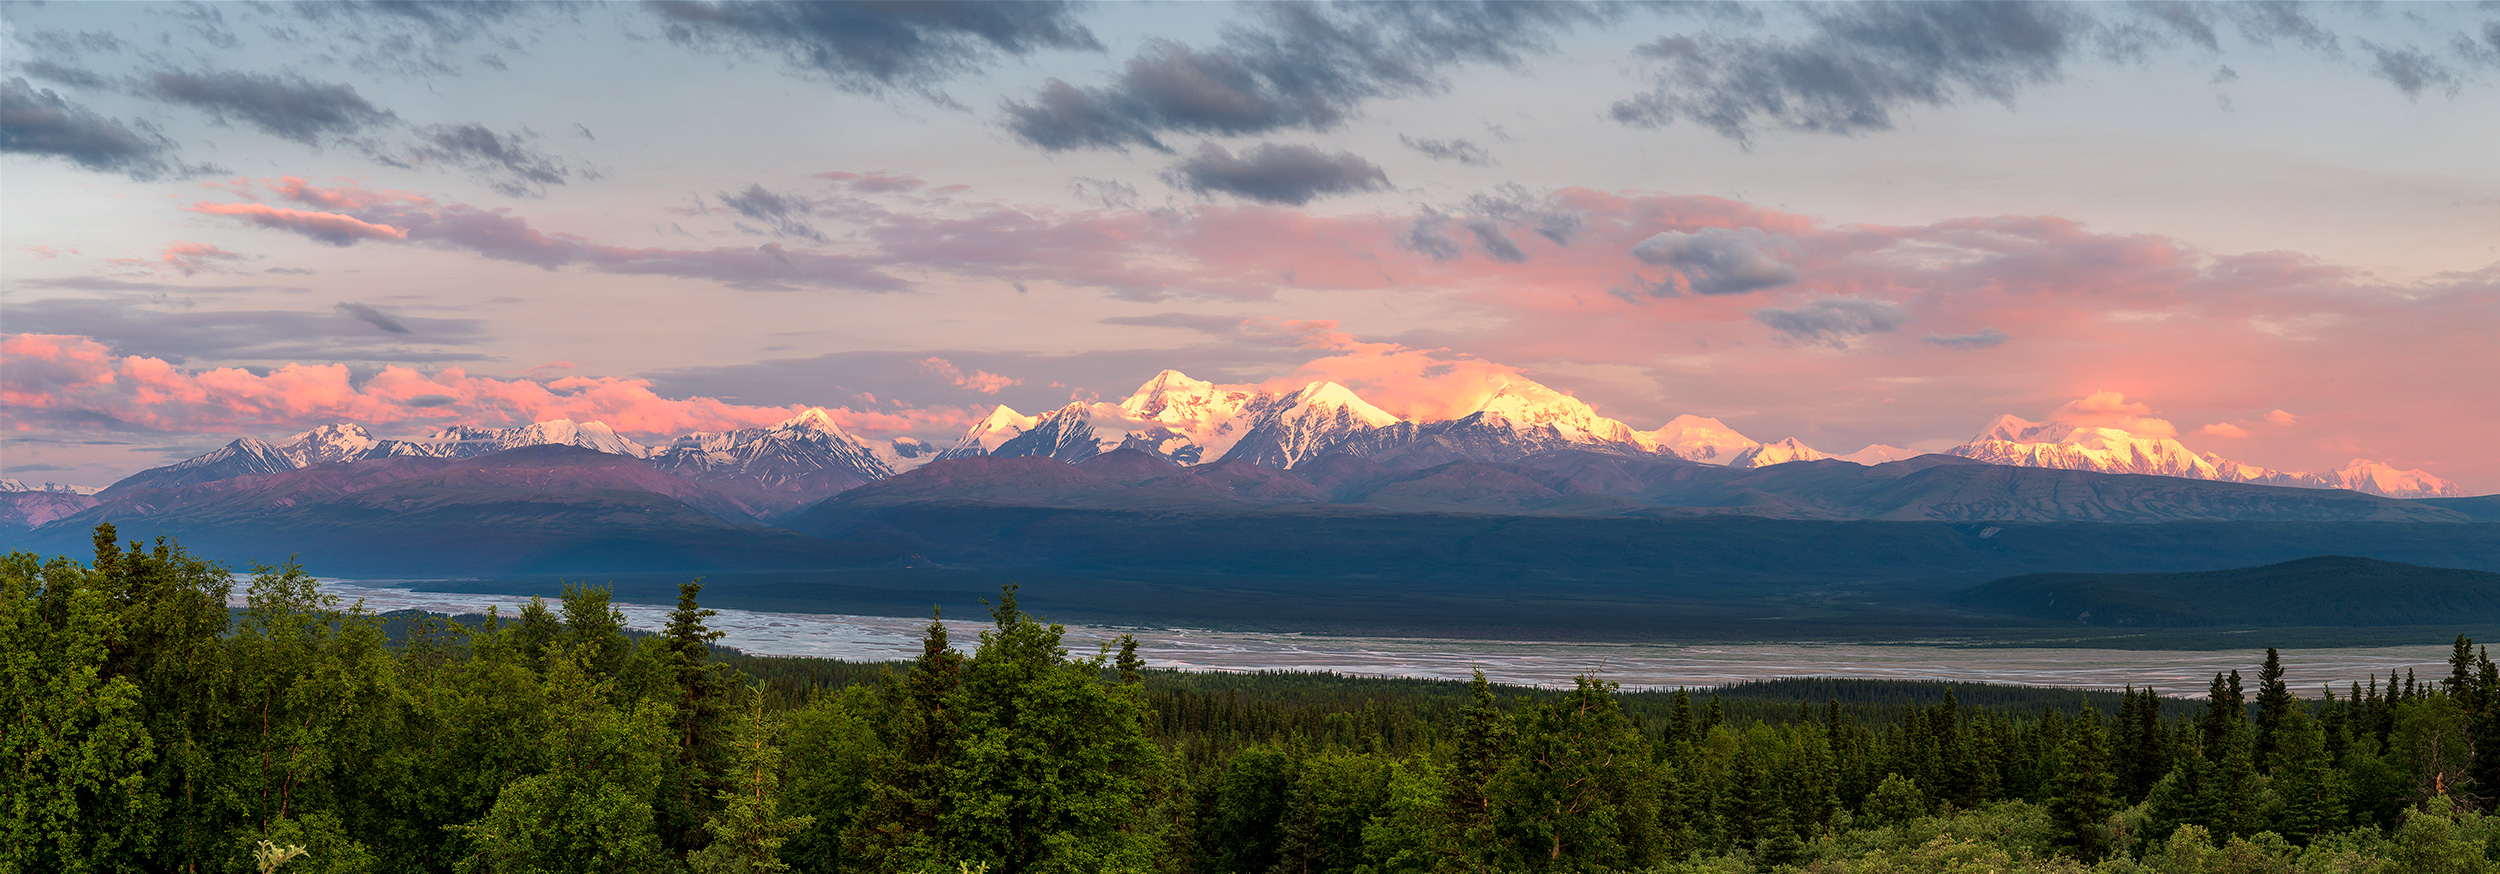
Sunrise on the Alaska Range
Catching sunrise on the Alaska Range in the summer requires some effort. In June sunrise is at 4:00am!
Catching Up
So, it’s been awhile since I made a blog post here. After we started our YouTube channel most of our posting has been there and on Instagram. Thought I’d take some time and do some catch up here as well.
One of the more photogenic locations we spent time in while in Alaska was the Richardson Highway. This highway runs from Glennallen in the north down to Valdez in the south and it provides some wonderful views of the Alaska Range. This is an immense mountain range that covers much of southeast Alaska and also contains Denali, north Americas tallest peak.
In order to capture enough of the range to give it some perspective, I shot a series of panorama images.
Setting Things Up
As I indicated in the opener, sunrise is pretty early here. On June 26 when I made this photograph, sunrise was at 4:02 am. And if you were out for sunset the prior evening (which we were) that was at 11:25 pm! It made for a pretty short night. To make matters worse, this was made before the actual sunrise plus I wanted to be on location plenty early in case we got a glow like you see above. It was an early wake up call.
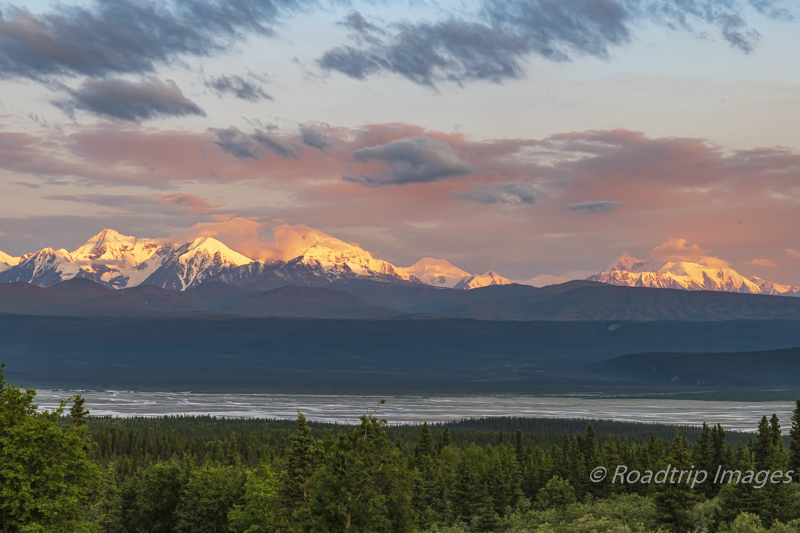
To get this much of the range in frame, a panorama format was the obvious choice. I didn’t want too much foreground or too much sky. I made a few single frame images in landscape mode but they just didn’t cover enough of the range. I needed a wider view. One example is shown below:
Making the Photograph
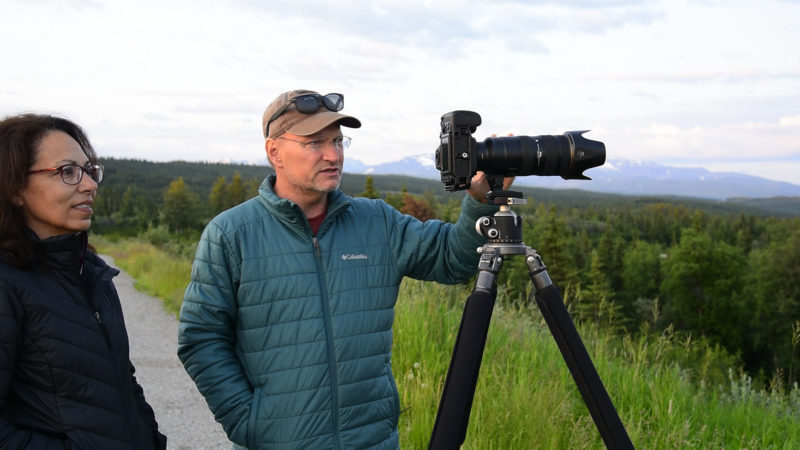
Making a panorama is actually pretty easy. The first step is to level your tripod. This is very important. I needed the camera to stay level as I swung from left to right. The next step is to level the camera as well and then check that the level is consistent from one end to the other. I made any adjustments to get this right. When I shoot panoramas I usually shoot in portrait or vertical mode. This gives the resulting stitched image the most vertical resolution possible.
Then on to composing each individual frame. I started in the middle since that’s where the tallest peaks were. I adjusted the zoom to get just enough foreground and sky to complement the mountain range. Then I rotated to the ends of the panorama and noted where that was on the degree scale on the ball head. From there I checked how much each frame covered so I could determine how many degrees of rotation were needed for each frame. I wanted about 1/3 overlap so that the stitching software had plenty of pixels to work with. For this pano it turned out to be 11 frames.
I ended up shooting several sequences as the light progressed. It went fast so I only got two or three.
Post Processing the Image
I’ve covered pano’s before and you can read here how to do it in great detail. But briefly, once the images are in Lightroom select the series and then click on “photo” from the top menu and select “photo merge” and then “panorama” from the pull down. Select either the rectangular or spherical image projection and let Lightroom create a preview.
After some fine tuning that I cover in the linked post, I merge the files into the stitched pano image. I takes awhile as the resulting .dng file is pretty big. Having a fast computer really helps. From here I did my normal image editing to get to the final version shown at the top.
Final Thoughts
The Richardson Highway in Alaska was an awesome drive on our way down to Valdez. We stayed a couple of days to explore the light at different times of day. We also got to photograph some moose nearby. Those images are in the wildlife gallery identified as Ruby Creek Moose. Nights are pretty short so you almost have to shoot either sunset or sunrise or you’ll be pretty sleep deprived after a few days.
We could have stayed many more days to further explore the area but onward to Valdez.
As always, you can see higher resolution images on our Facebook page. Please give us a like while you’re there.
Nikon D850 with Nikkor 24-70mm at 70mm. f/11 at 1/8th of a second, ISO 64.
Here is our video on the Alaska Range sunrise
Subscribe and Get Free E-Book!
